
Your First Campaign
This guide walks you through creating and launching your first campaign. By the end, you'll have an active campaign reaching out to your ideal prospects.
Time to complete: About 5-10 minutes
Before You Start
Make sure you have:
- ✅ Connected at least one channel (email or LinkedIn) — Set up channels
- ✅ An idea of who you want to reach (job titles, industries, etc.)
Creating Your Campaign
From the dashboard, click Create Campaign or navigate to Campaigns > New Campaign.
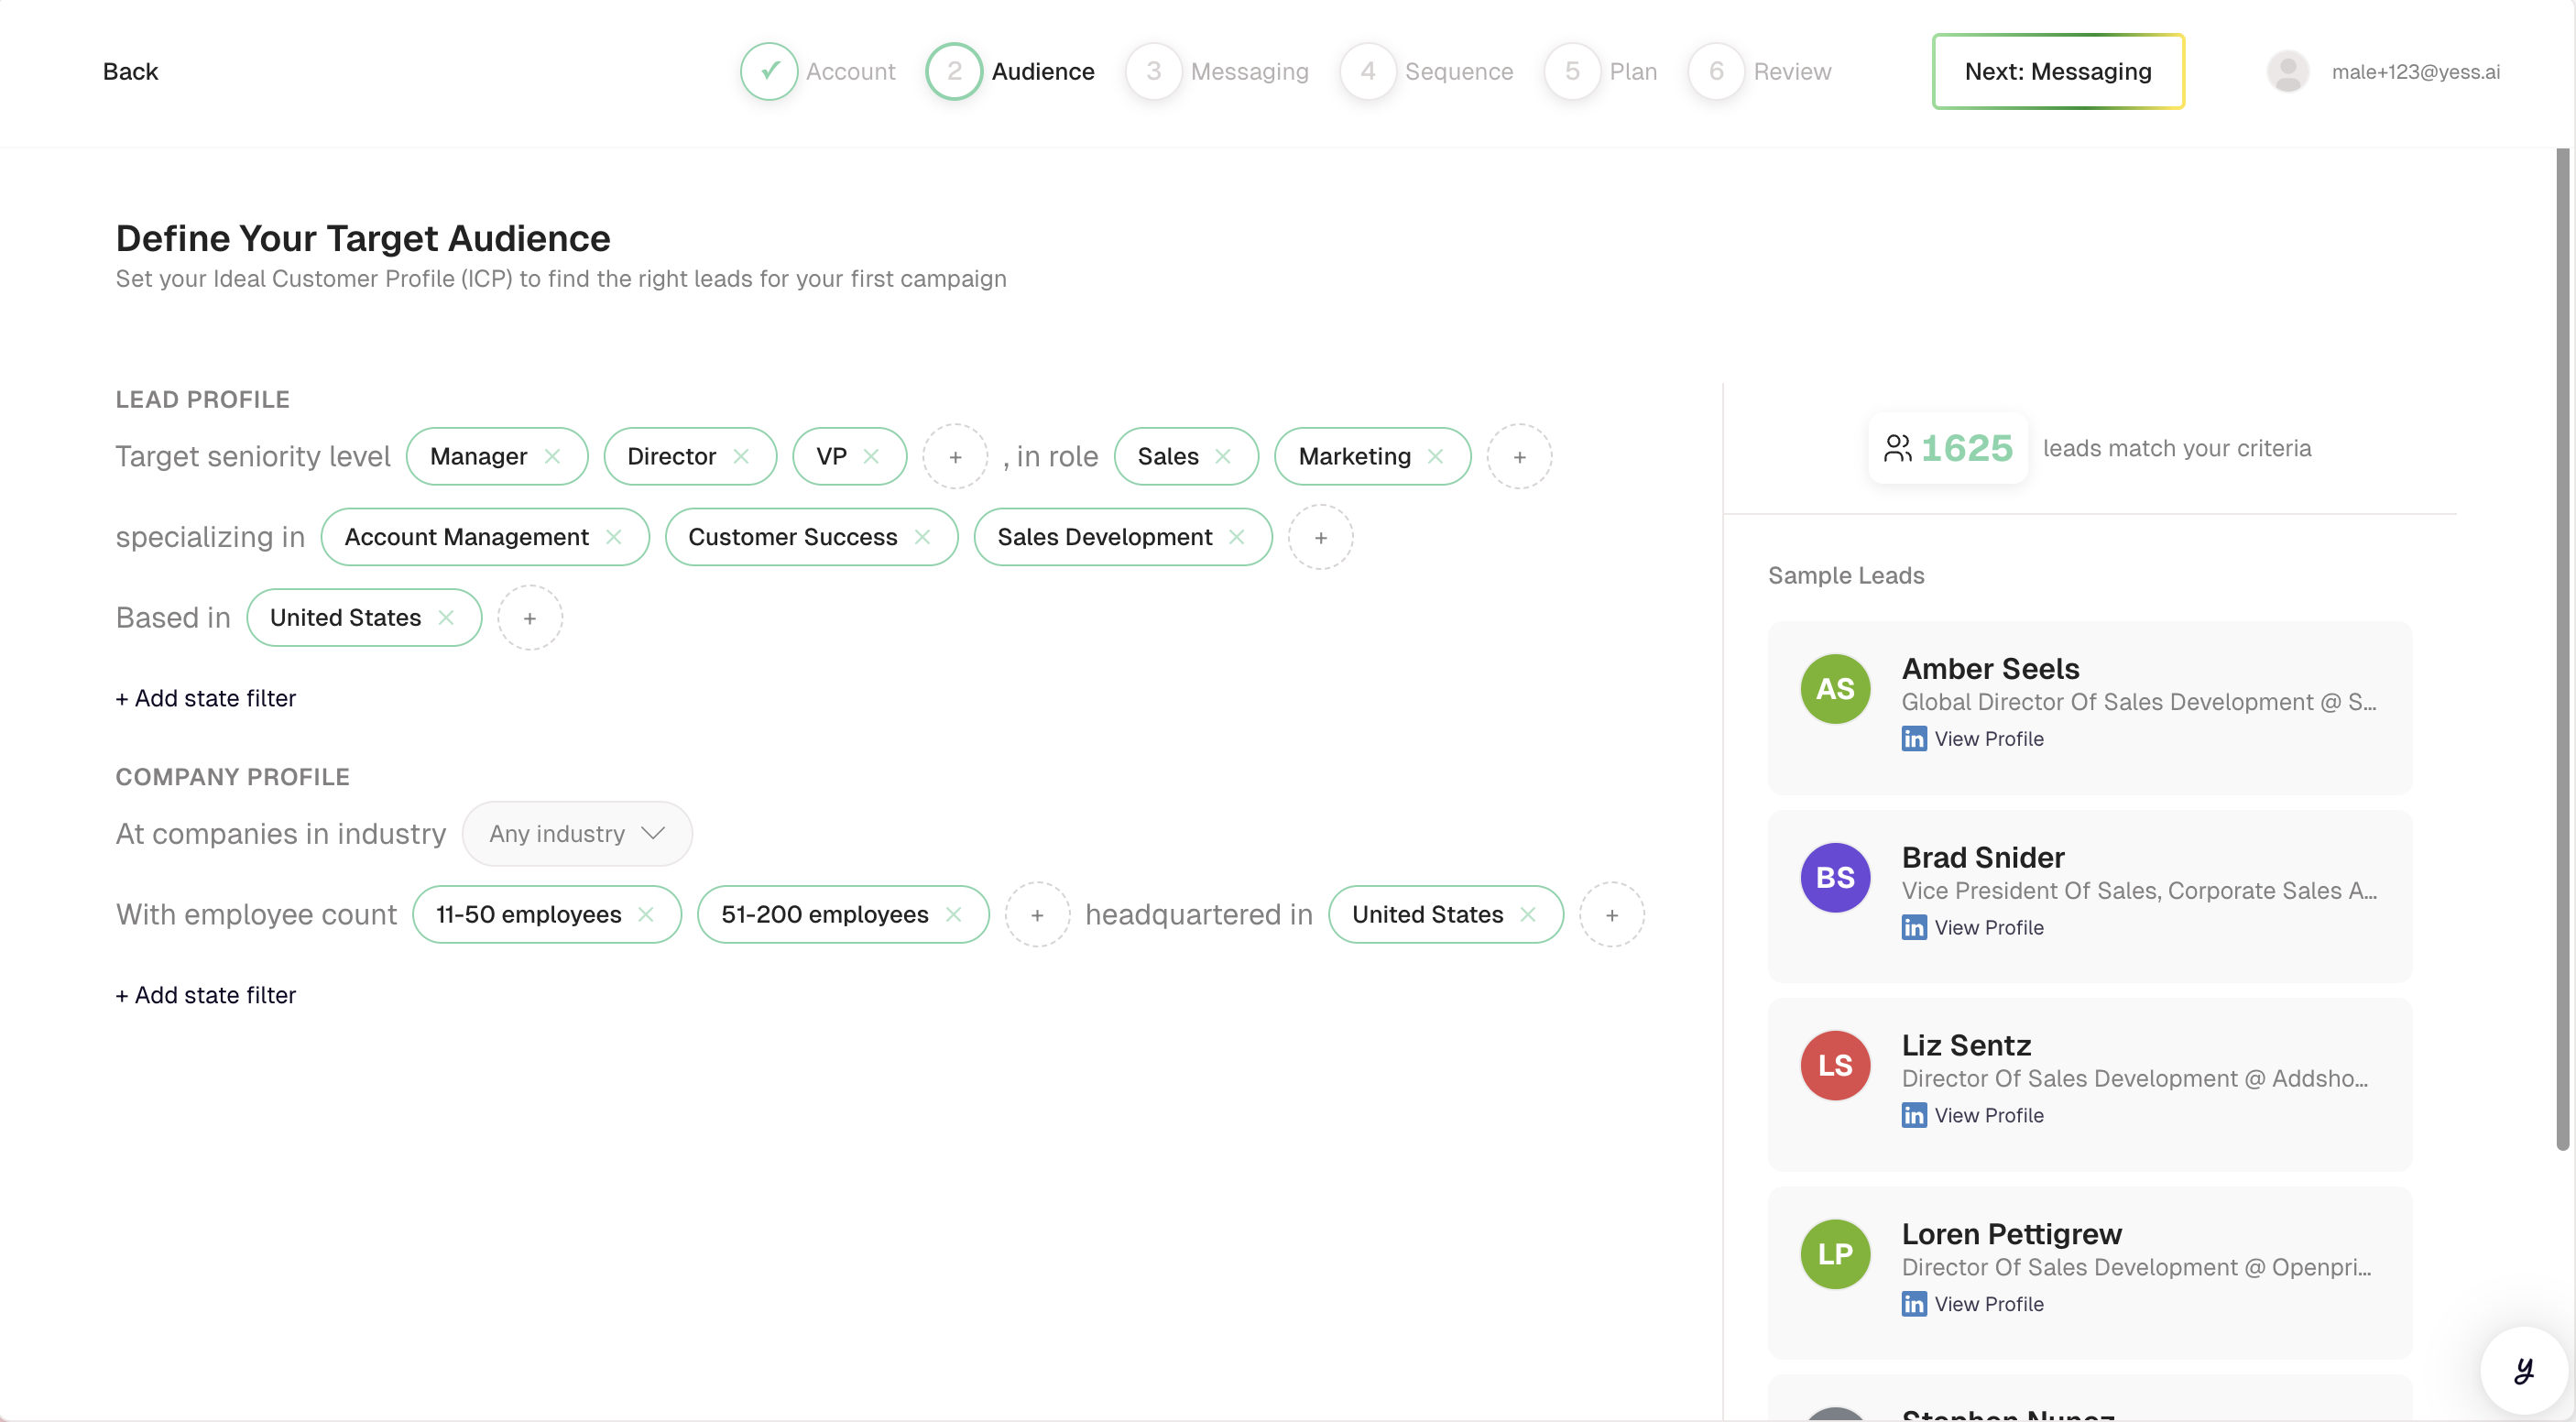
Set your Ideal Customer Profile (ICP) criteria. The system will find leads matching these filters:
- Job Titles: VP of Sales, Sales Director, Head of Sales
- Industries: Software, SaaS, Technology
- Company Size: 50-500 employees
- Location: United States
You'll see a preview of how many leads match your criteria.
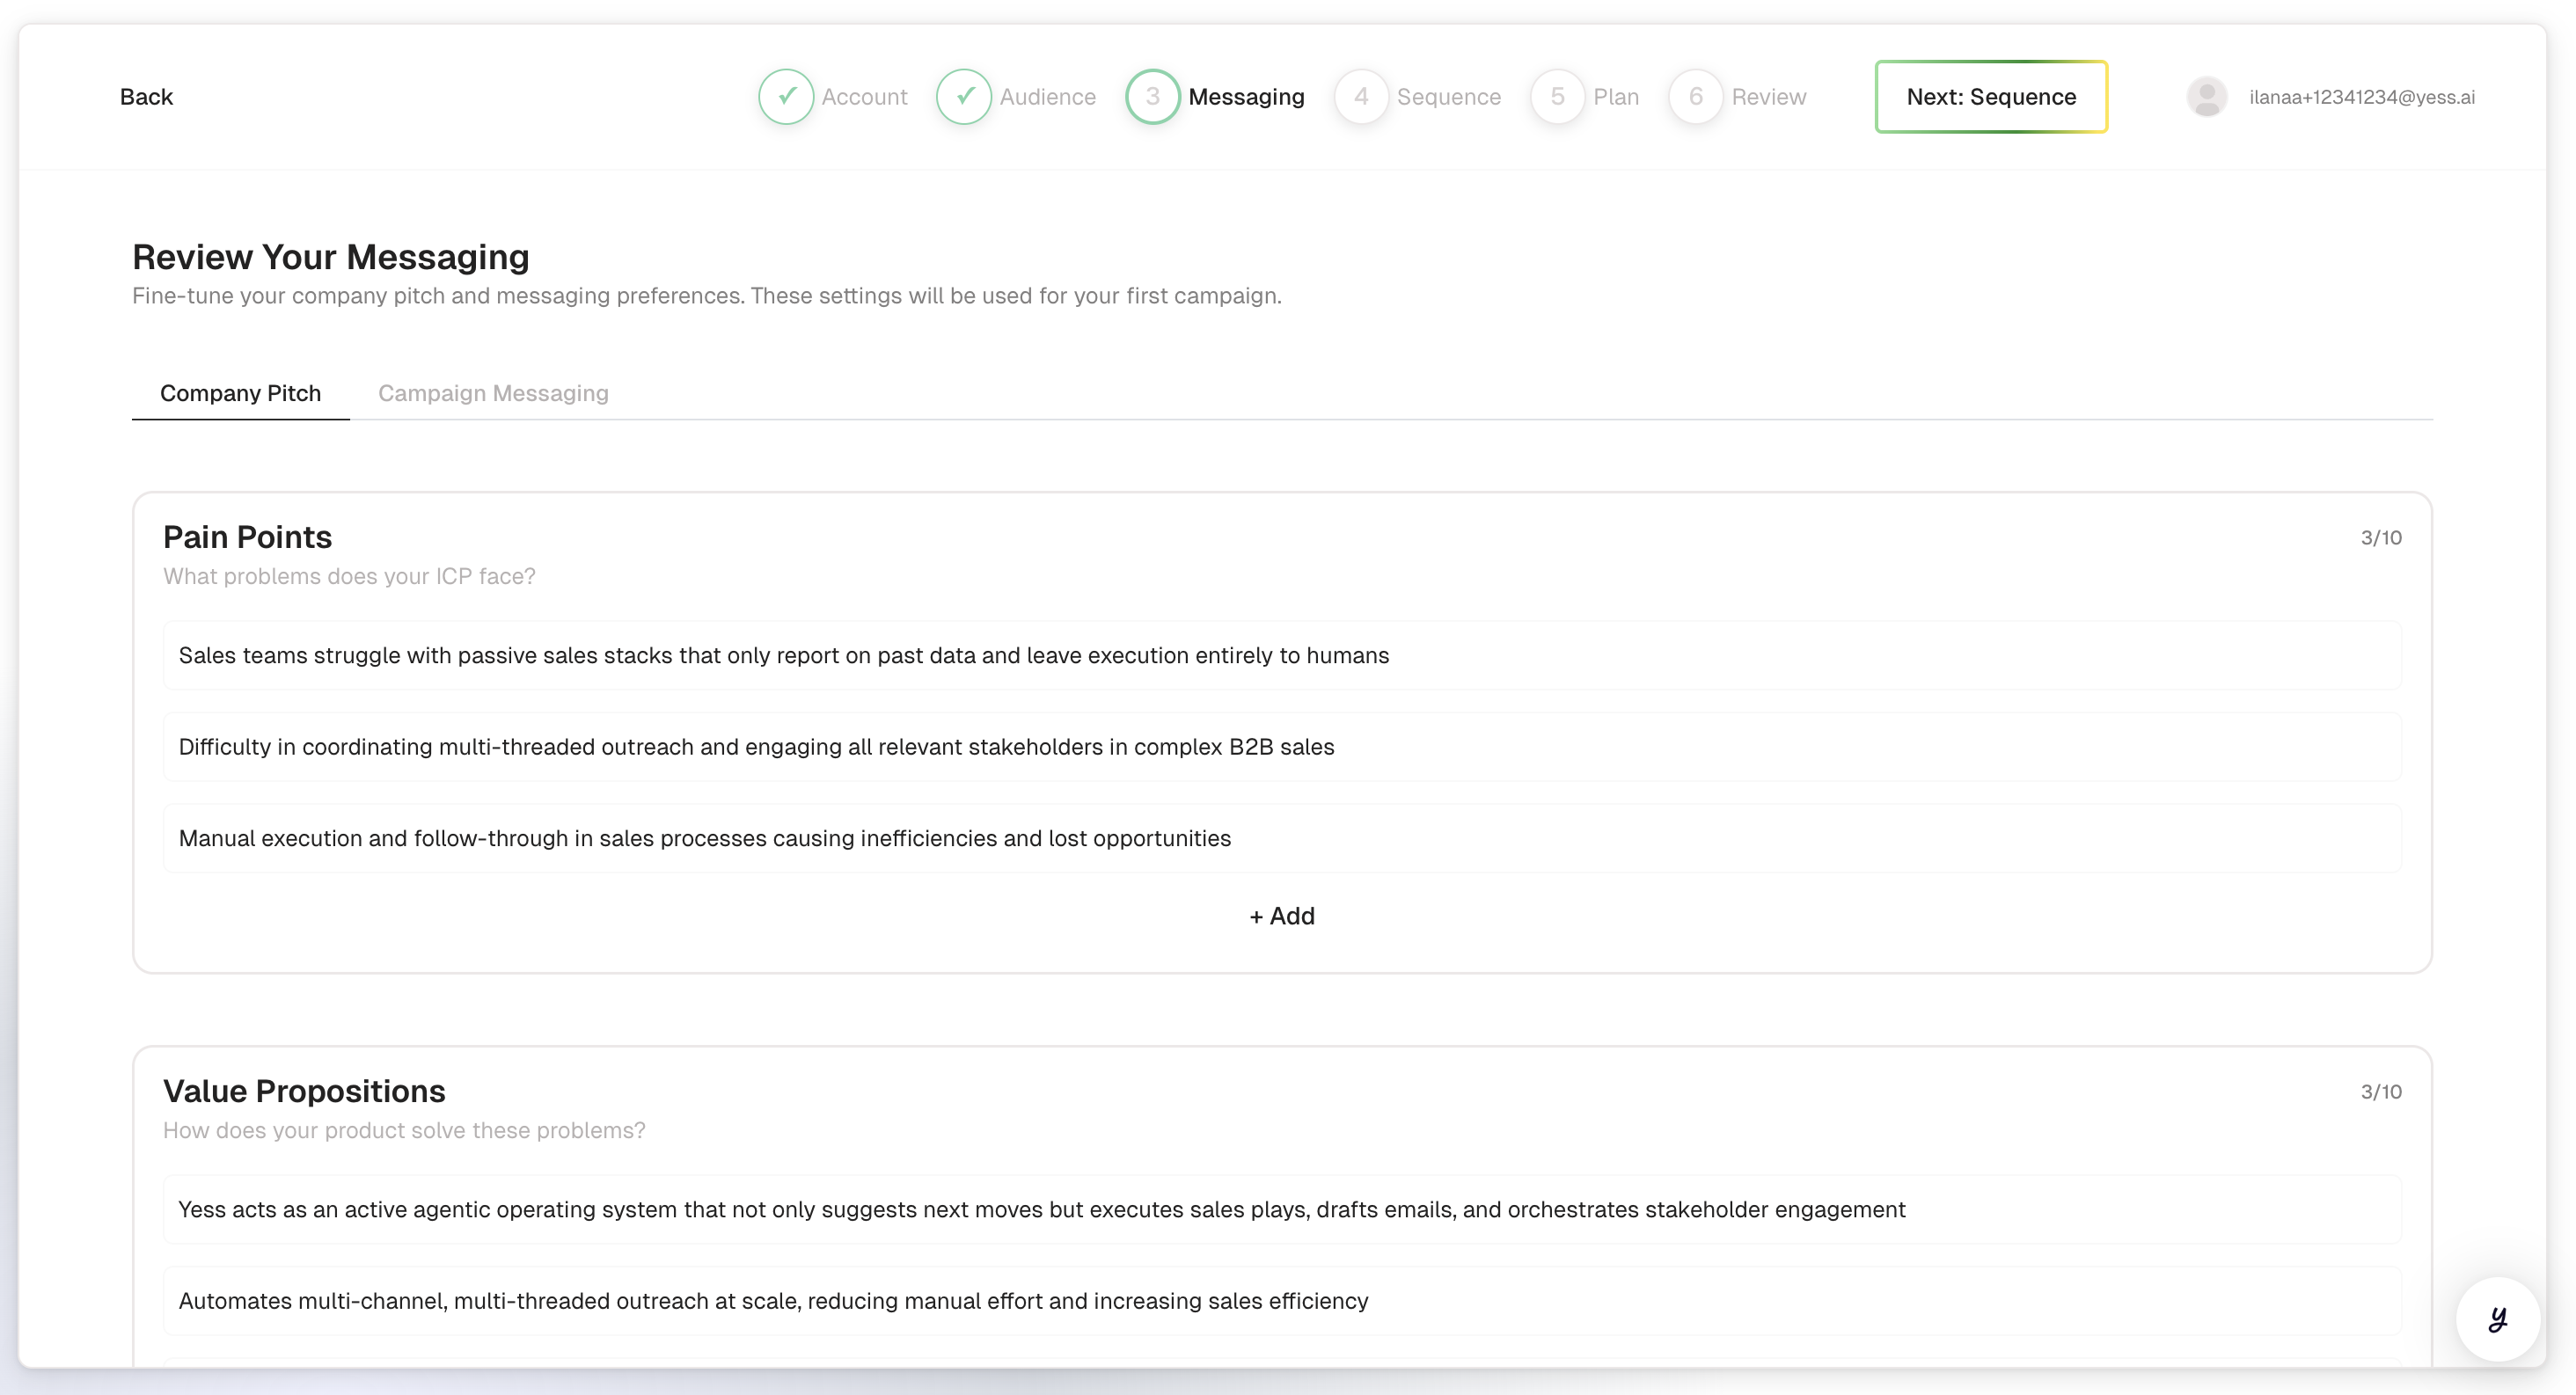
Tell the AI how you want to communicate:
Tone: Select your preferred style (Professional, Friendly, Direct)
Instructions: Provide guidance on what to say
- "Focus on how we help sales teams save time on prospecting"
- "Mention our recent case study with Acme Corp if relevant"
- "Keep messages concise and end with a clear call-to-action"
Call-to-Action: What do you want leads to do?
- "Book a 15-minute call to learn more"
Pitch Elements (optional):
- Pain points your product solves
- Key value propositions
- Social proof or customer success stories
Select a pre-built sequence strategy that defines how and when your outreach happens:
Example Strategy: "Email + LinkedIn Connect"
- Day 0: Send personalized email
- Day 3: Wait
- Day 3: Send LinkedIn connection request
- Day 7: Wait
- Day 7: Send follow-up email (if no reply)
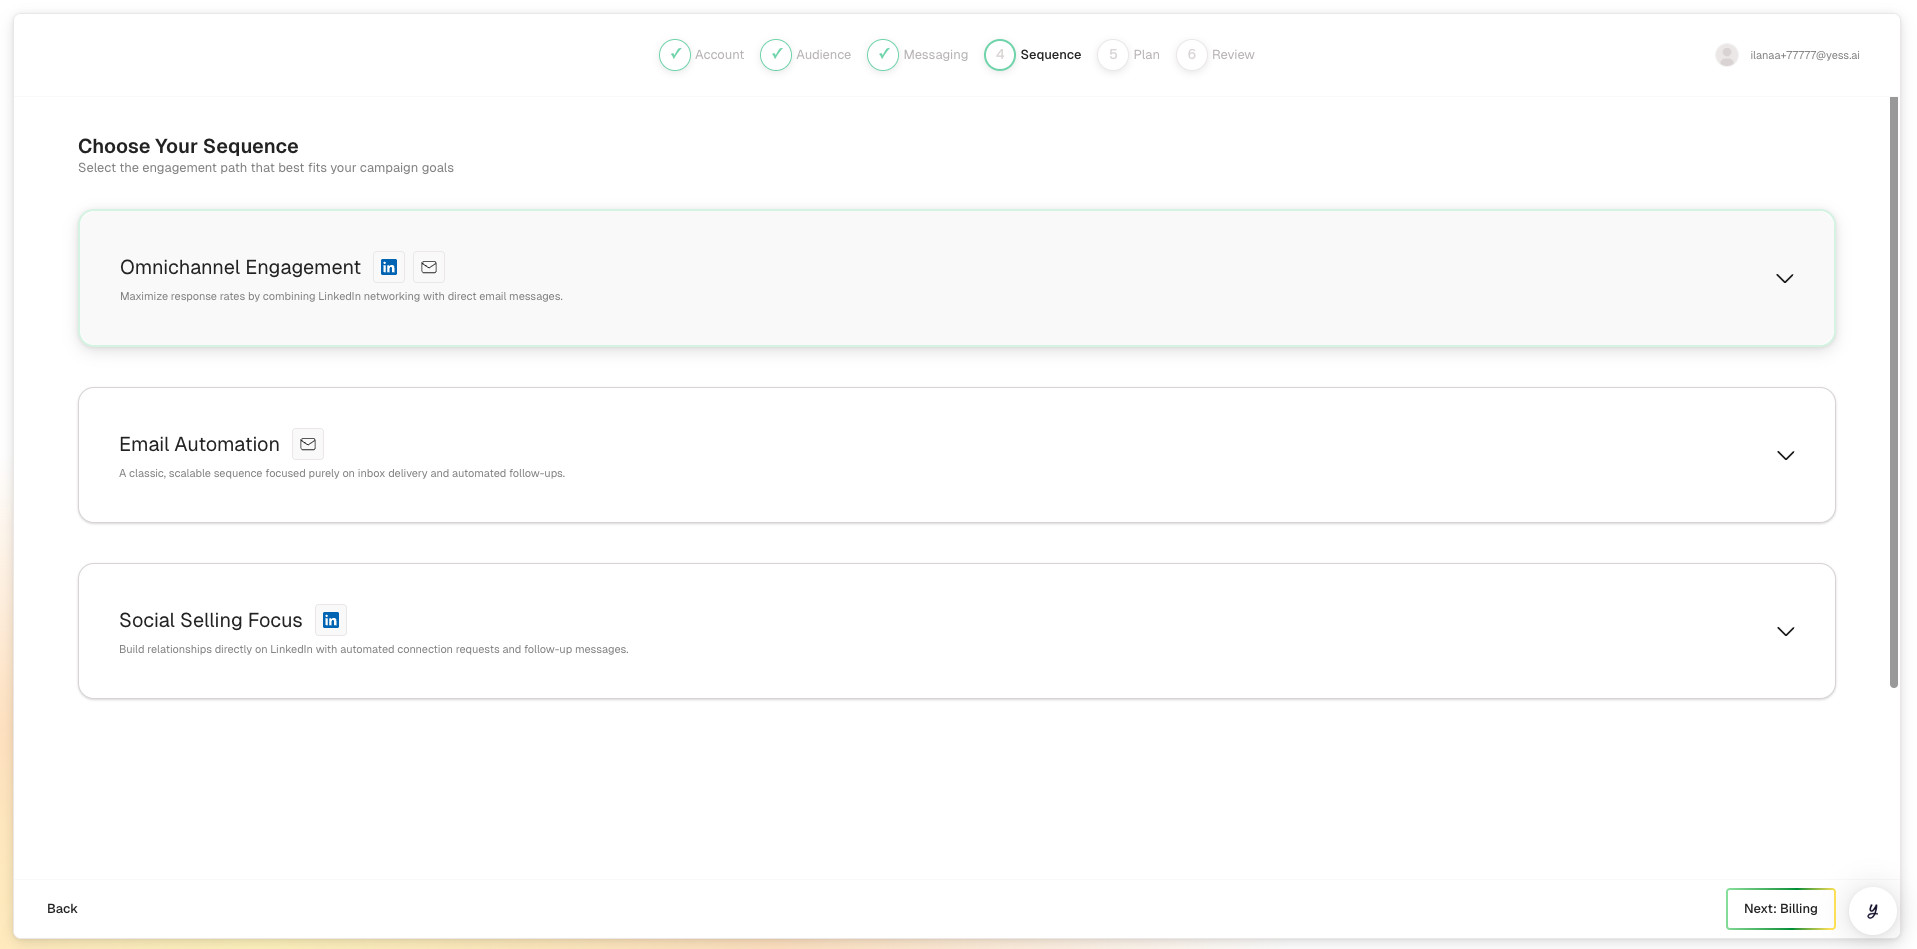
Start with a balanced strategy that uses both email and LinkedIn. You can adjust based on what works best for your audience.
Before launching, review your campaign settings:
- Campaign Name & Description: Review the AI-generated campaign name and description. These are created automatically based on your audience, messaging, and strategy. You can edit them if needed.
- Audience: Check the targeting criteria and estimated reach
- Messaging: Confirm your tone and instructions
- Strategy: Verify the sequence steps and channels
- Monthly Quota: See how many leads will be enrolled this month
Watch: Connect your channels
If you haven't connected a required channel yet, these short videos walk you through it.
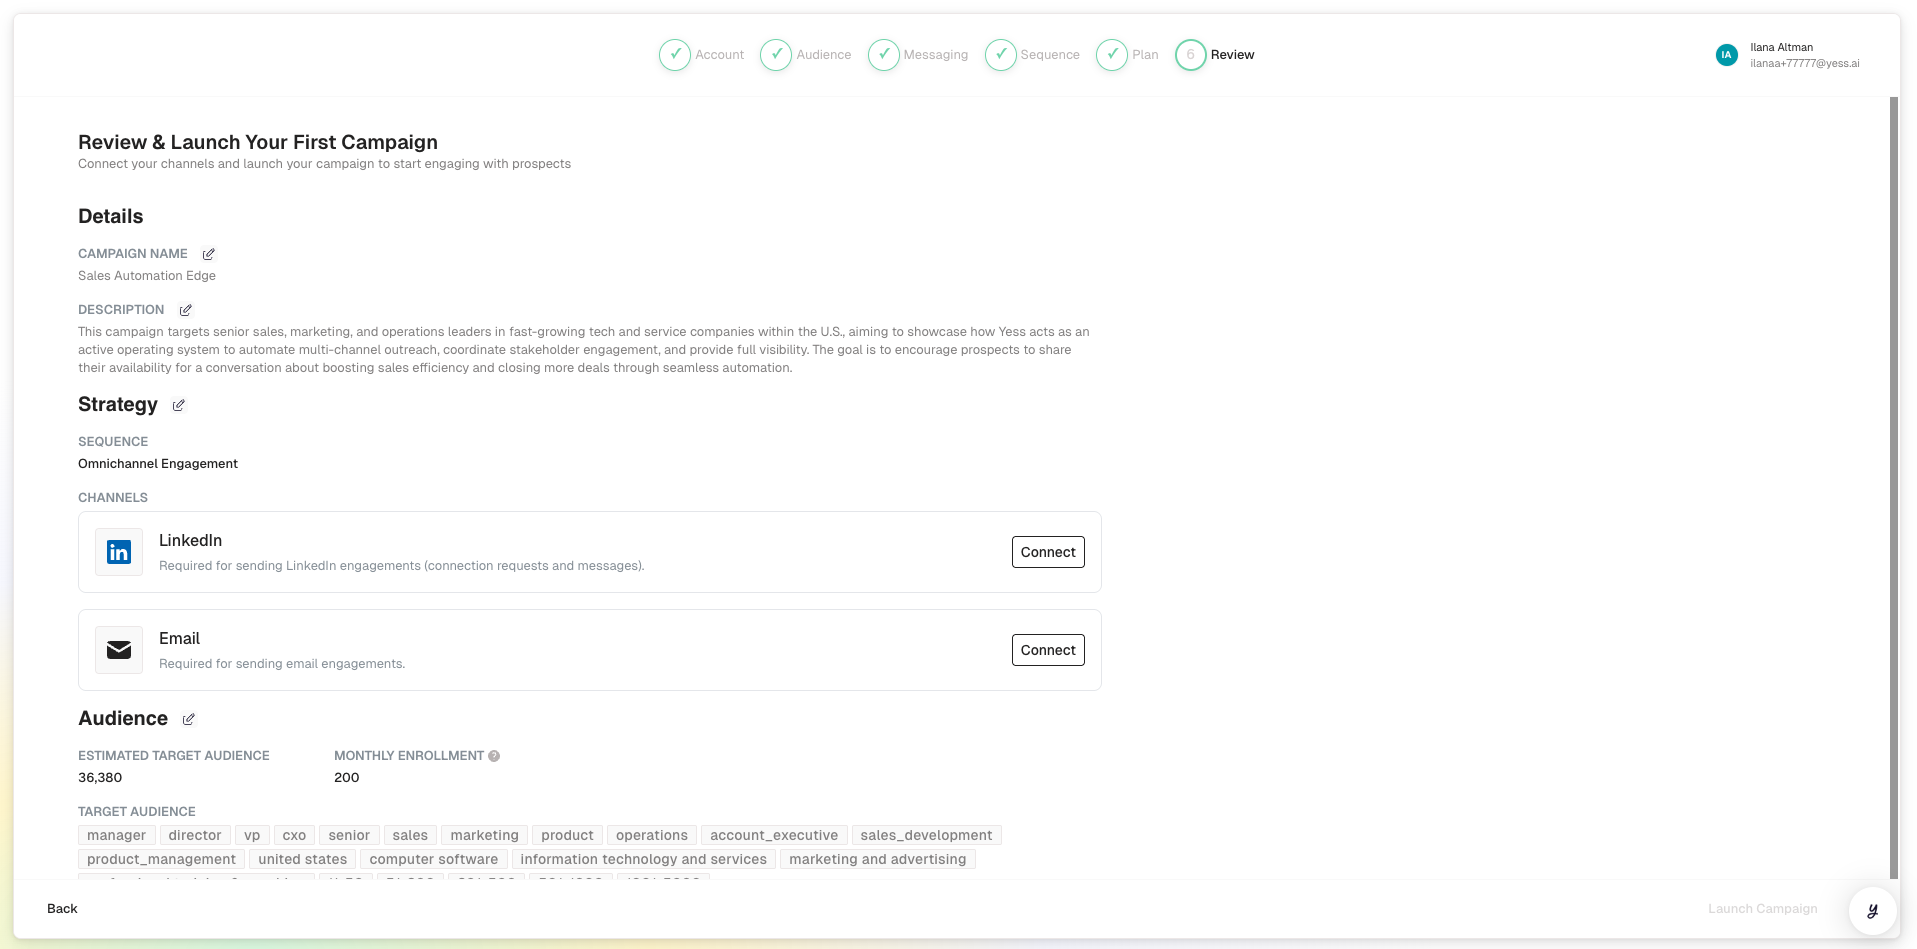
Important: Make sure the required channels are connected. You'll see indicators showing which integrations are needed.
When ready, click Launch Campaign.
What Happens After Launch
Once your campaign is active:
- Lead Enrollment Begins — The system starts enrolling matching leads (~20 per day)
- AI Research Starts — Each lead is researched for personalization
- Messages Are Queued — Personalized messages are prepared for each lead
- Outreach Executes — Messages are sent according to your sequence schedule
- You Get Notified — You'll see updates as leads engage or reply
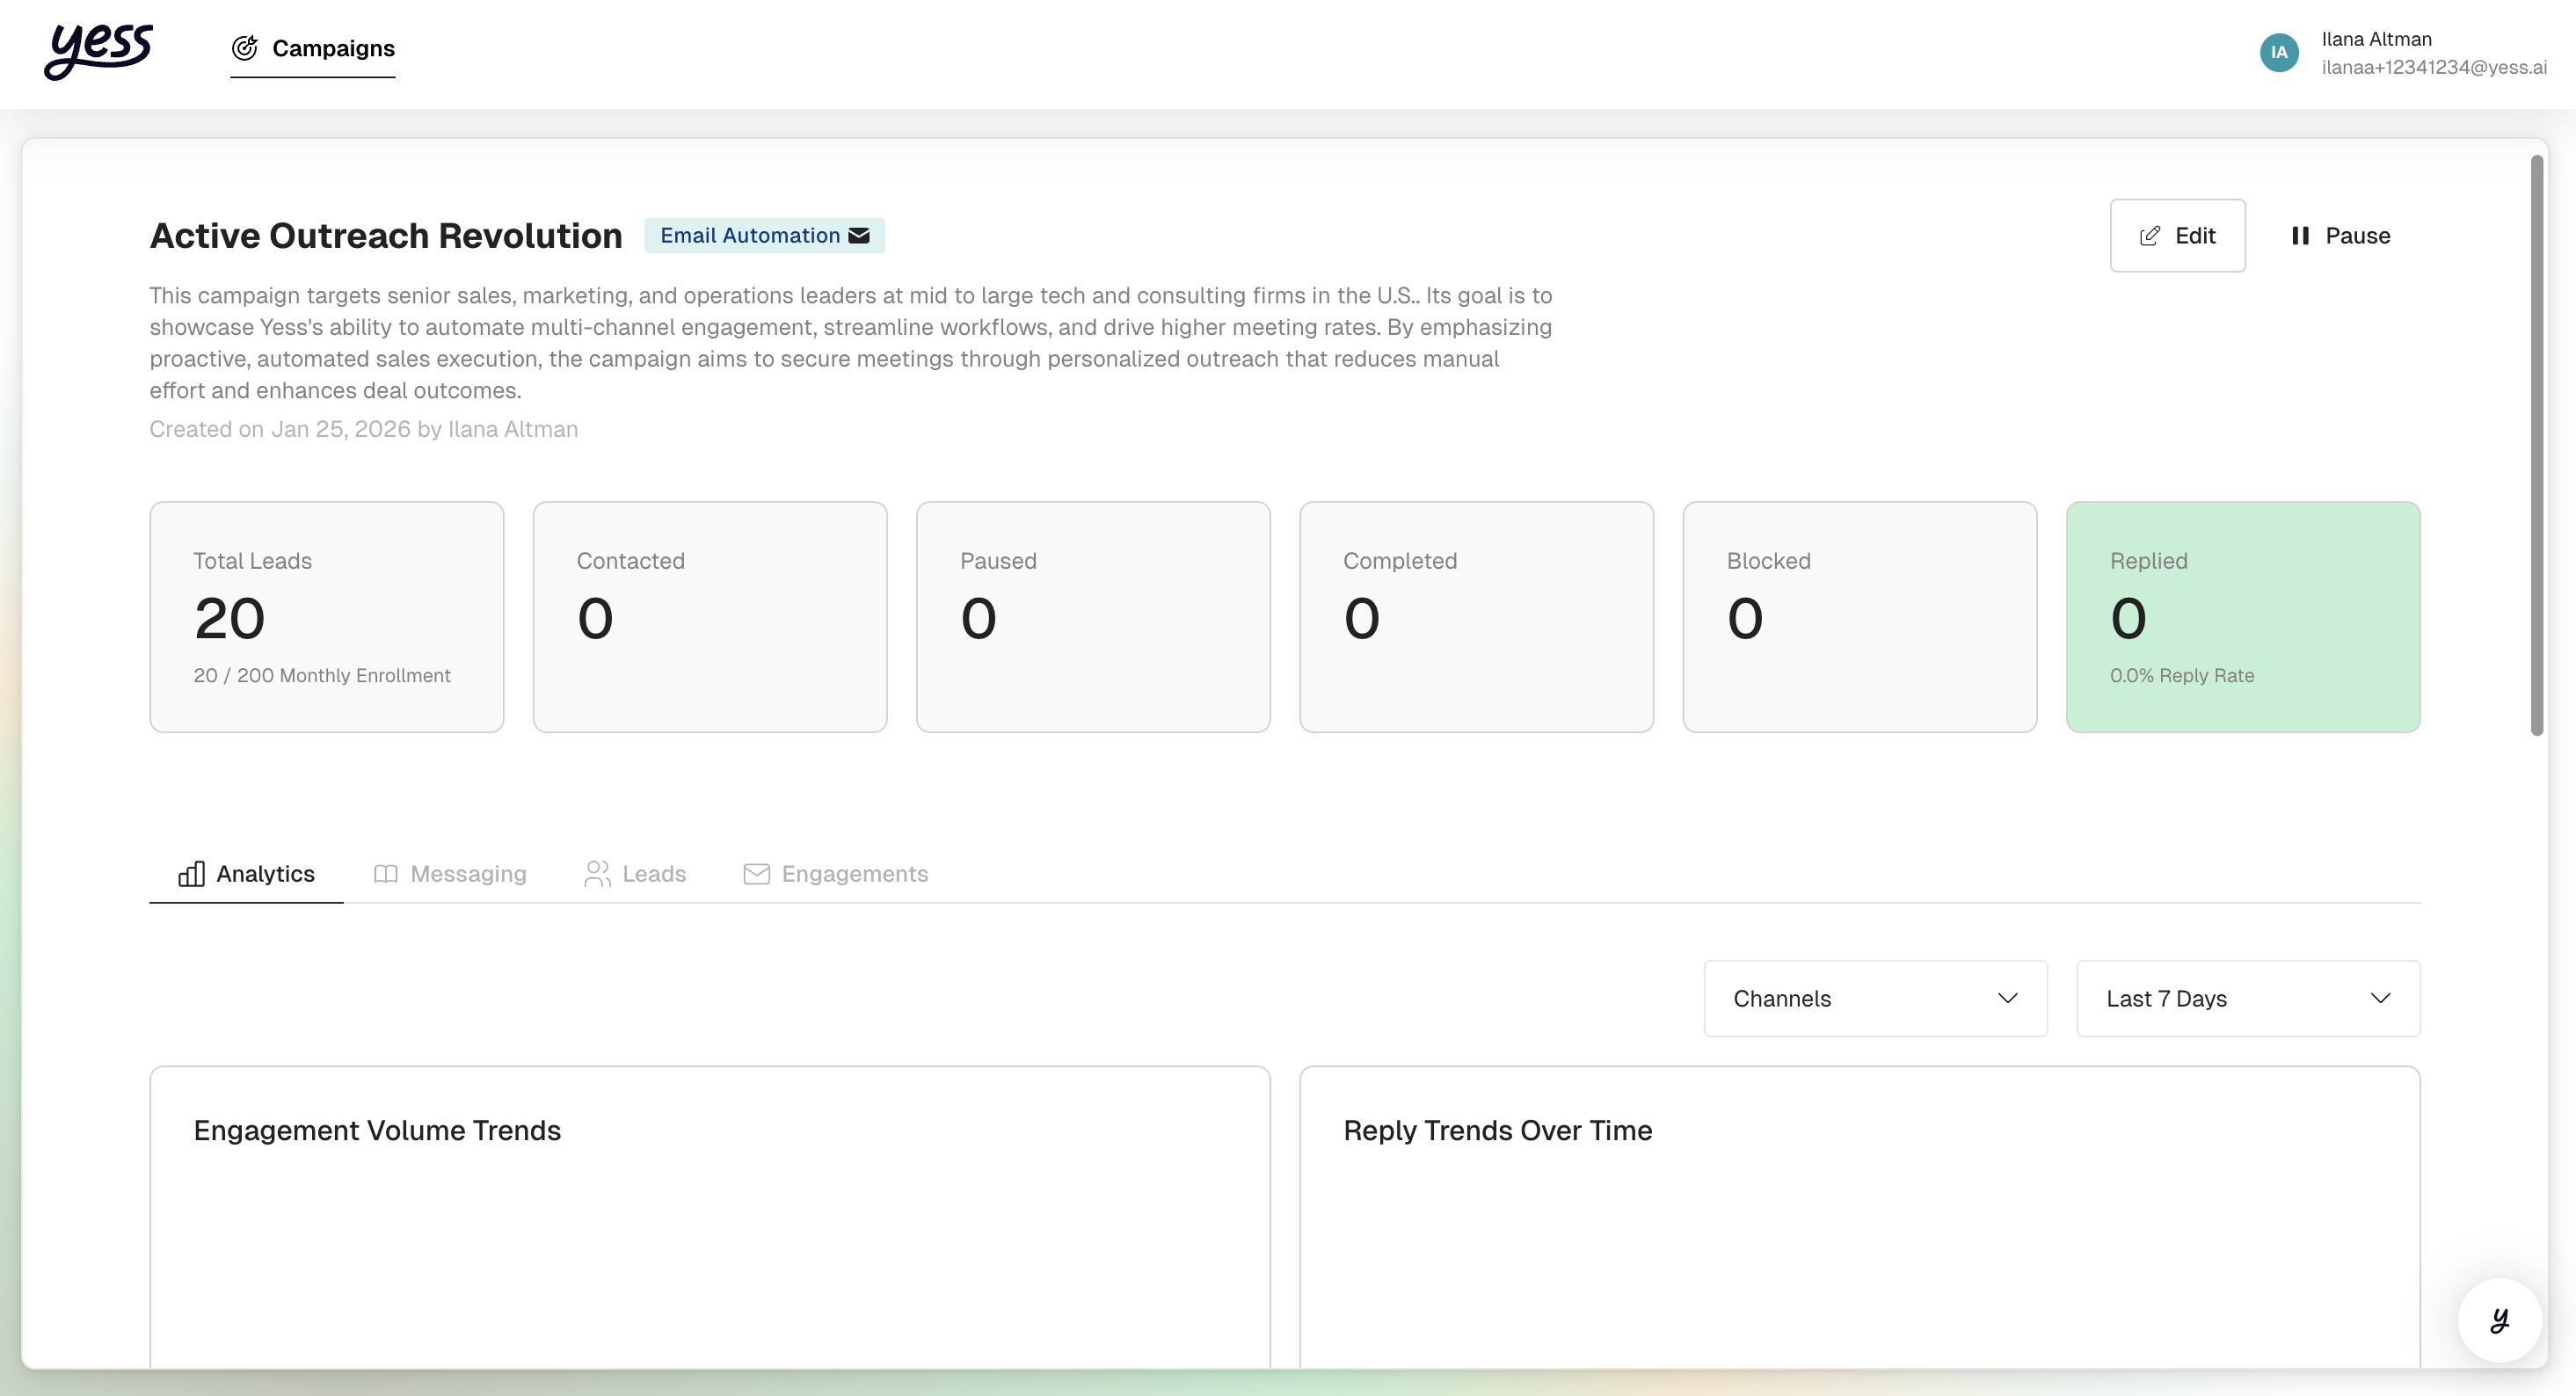
Monitoring Your Campaign
After launching, you can track progress from the campaign details page:
- Enrollment Progress: X leads enrolled out of your monthly quota
- Engagement Stats: Messages sent, opens, clicks
- Reply Activity: Who has responded and their sentiment
- Lead Status: See where each lead is in the sequence
Tips for Your First Campaign
Start Focused
Begin with a narrow audience to test your messaging before scaling up.
Enable Approval
Turn on message approval for your first campaign to review messages before they send.
Watch Your Replies
Check notifications daily and respond promptly to interested leads.
Iterate
After a week, review performance and adjust your messaging or targeting.